
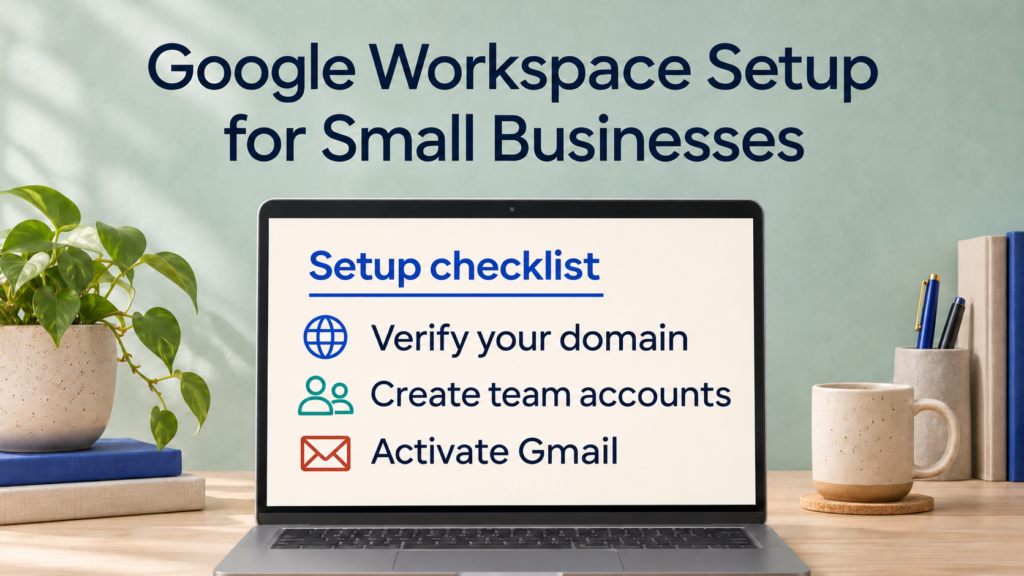

If you’re figuring out how to set up Google Workspace for a small business, start by listing the email addresses your team already uses. It’s easy to remember employee inboxes and overlook the address that receives website inquiries or supplier invoices. When you move email to Google, each address still needs somewhere to deliver its messages.
This guide takes you from choosing a plan to testing your first message. If your domain already receives email, create the new accounts and test the migration before changing where incoming messages go. If the domain is new and has never received email, you can skip the migration steps.
What to gather before you sign up
- Access to your domain’s DNS settings. The domain registrar is where you bought the domain. The DNS provider is where you edit records. They may be different companies.
- A list of people and addresses. Include individual mailboxes, aliases, forwarding rules, and team addresses such as
sales@example.com. - Access to your current email provider. Identify the mailboxes you need to copy and check how to export or migrate any contacts, calendars, or files you need.
- A list of services that send email as your business. Include your website forms, newsletter platform, and invoicing tools so you can test them after setup.
- An account owner and a change window. Decide who will manage Workspace and schedule the email switch for a time when someone can test delivery.
How to set up Google Workspace step by step
1. Choose a Business plan and create your account
Start with how many people need their own sign-in and how much storage the team uses. Google lists 30 GB of pooled storage per user for Business Starter, 2 TB for Business Standard, and 5 TB for Business Plus. Pooled storage is shared across the organization. Compare any features you need, such as Meet recording or retention tools, before selecting an edition. Google’s Business edition comparison
Check pricing for your country and compare the Flexible and Annual/Fixed-Term terms. Monthly billing can still come with an annual commitment. Once you choose a plan, sign up with your business details and your existing domain, or register a domain if you need one. Use a company-controlled account for administration and save access to the Google Admin console. Google Workspace pricing · Google’s payment plan comparison
2. Verify that you own the domain
Follow the domain verification prompt in the Admin console. Google supplies a unique TXT value. Copy that value into a new TXT record at the DNS provider for your domain, then return to the Admin console to verify it.
A TXT verification record proves that you control the domain. Incoming mail continues to follow the existing MX records until you change them. If Google cannot find the TXT record, check that you added it at the provider hosting your DNS and used the host field format that provider expects. Google’s TXT verification instructions
3. Create user accounts and recreate shared addresses
Give each employee who needs their own mailbox or Workspace sign-in an individual account. Then decide what to do with addresses that represent a function or department.
| Example address | Setup | When to use it |
|---|---|---|
amina@example.com | User account | Amina needs her own sign-in, inbox, calendar, and file access. |
billing@example.com | Alias for an existing user | One person handles billing and wants those messages in their existing inbox. |
support@example.com | Google Group, with Collaborative Inbox features if appropriate | Multiple people need to see inquiries. A Collaborative Inbox can let them assign conversations. |
An alias delivers to one user’s mailbox and has no separate sign-in. For a customer-facing group, check whether people outside your organization can send to it, who can view conversations, and which address customers will see on replies. Test those settings from an external account before launch. Google’s email alias instructions · Google Groups settings
4. Copy existing email before switching incoming mail
Check which Google migration option supports your current provider. If your old host exposes mail over IMAP, Google provides a migration path for copying email into Workspace Gmail. Treat contacts, calendars, and files as separate items to plan and verify when using an IMAP email migration. Google’s IMAP migration guide
Start with one mailbox. Compare a few recent and older messages and open attachments in the destination account. Then migrate the other mailboxes you need. Keep the old service available during the handover and plan a final sync or mailbox check for anything that arrived after your first migration. Save a copy of your current MX settings before changing them.
5. Update the MX record and activate Gmail
MX records tell other mail servers where to deliver email for your domain. For a straightforward switch to Google Workspace, follow the values and activation prompts in Google’s setup tool. Google’s standard MX destination for a new setup is smtp.google.com. Its published example uses a priority of 1, and some DNS providers expect a trailing dot or use a Google Workspace preset. Existing Workspace accounts that already deliver successfully through Google’s supported legacy records can keep them. Google’s MX records and Gmail activation instructions
Change the records only when your destination addresses are ready. For a full move to Google, remove the former provider’s MX records as directed by the setup guide. Edit the mail records without changing website records or nameservers. Google says the new MX records can take up to 72 hours to be recognized. During that window, check both mail systems for new messages. Google’s MX setup and troubleshooting guidance
6. Set up email authentication and protect admin access
Plan email authentication before the switch and test it as Gmail goes live. The three settings serve different purposes.
| Setting | What it does | What to check |
|---|---|---|
| SPF | Identifies which mail servers may send for your domain. | Maintain one SPF policy per domain. Include Google and other providers that send using that domain where their instructions require it. |
| DKIM | Adds a signature receivers can use to verify the message. | Follow Google’s steps to publish the DNS record and turn on signing. Check the setup for other sending platforms too. |
| DMARC | Tells receiving servers how to handle messages that fail DMARC checks and can request reports. | Start by monitoring and check that legitimate senders pass before enforcing a stricter policy. |
A website form can send from a different service than Gmail. Test it with the real form after the move, along with any invoicing or marketing tools that send as your business. Google’s SPF guide · DKIM setup · DMARC setup
Enable 2-Step Verification for administrators early and plan enrollment for the rest of the team. Use a separate admin account for administrative tasks, keep recovery options available, and grant elevated access only to people who need it. Google’s admin account security guidance
7. Test normal work before retiring the old service
Use an external email account to send to an employee inbox, a billing alias, and any shared address that customers use. Reply and confirm that the messages arrive and display the expected sender address. Ask an employee to sign in, open a shared file, and accept a test Calendar invitation.
Check the old mailboxes again, verify that the team can find historical messages and attachments, and confirm that the old provider is no longer receiving business mail before canceling that service. Keep the domain registered even if you stop buying email hosting from the same company.
A simple setup for a four-person business
A four-person design studio gives each employee a Workspace account. Its bookkeeper handles billing@example.com as an alias, while project inquiries go to a projects@example.com group the team can monitor. The owner tests one old mailbox first, checks that the group accepts outside messages, and schedules the MX switch for a quiet afternoon. After the switch, the team sends a real website inquiry and replies from its new inbox. That confirms both ends of a workflow customers actually use.
Frequently asked questions
1. Can I keep my business email address?
Yes. If you control the domain, you can recreate existing addresses in Workspace. An address such as hello@example.com can stay the same even when Gmail becomes the destination. Set it up as a mailbox, alias, or group before switching incoming mail. Google’s MX records guide
2. Does each email address need a paid user?
An employee who needs their own Workspace sign-in typically needs a user license. If one employee handles several addresses, an email alias can route another address to their existing inbox without adding a separate user license. Google’s email alias guidance
3. Will setting up Gmail affect my website?
Domain verification and mail routing use TXT and MX records. If you leave the website’s records and nameservers in place, those email-related changes should leave the site reachable. If your current plan bundles website hosting, email, and domain registration, check which services you would lose before canceling it. Google’s domain verification and mail-routing guidance
4. How long does Google Workspace setup take?
The time depends on account setup, DNS, and how much data you need to copy. Google says MX changes can take up to 72 hours to be recognized. With an existing email service, plan your switch around successful delivery tests and a check for late-arriving mail at the old provider. Google’s MX setup timeline
5. Do old messages move when I change my MX records?
Changing MX records routes incoming messages to Google. To bring over old mail and attachments, use a migration tool compatible with your source or retain an accessible archive if an import is impractical. Google’s IMAP migration instructions
Conclusion
If you’re switching from an existing provider, put the email address list at the center of the rollout. Assign each address a destination, test one mailbox migration, and prove that customers can still reach your team after the switch. Once your staff can work in the new accounts and you’ve checked the old inboxes for any remaining mail, you can decide when to close the former email service.