
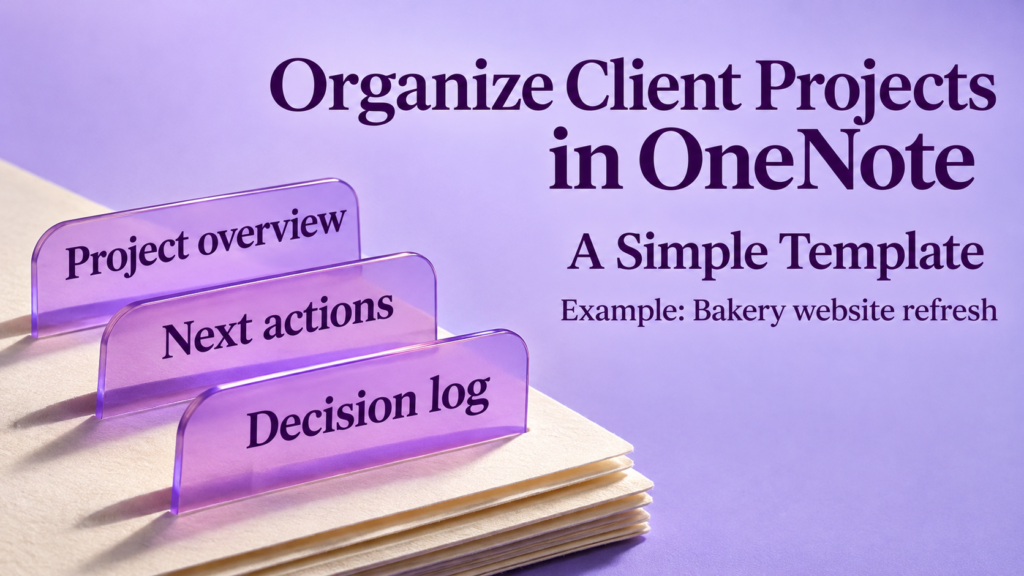

A client approves a change on a call, sends the updated files by email, and asks for the new deadline in a message. The next time someone opens the project, they have to piece together what happened. OneNote can give those details a home: a project summary at the top, dated notes underneath, and a clear next action.
Here’s how to organize client projects in OneNote with a simple template. Set up a notebook around who needs access, create an overview page you can reuse, and give approvals and meeting notes a consistent place. The filled-in website project below shows what that looks like in practice.
Set up the notebook around who needs access
OneNote organizes notes into notebooks, sections, and pages. Start with the people who need to see the notes, then choose where to put each project.
| Situation | Simple setup |
|---|---|
| You manage several small projects with the same internal team. | Use one internal notebook with a section per project. |
| A project has many meetings, deliverables, or decisions. | Use a dedicated notebook with sections for the overview, meetings, and decisions. |
| A client needs access to live notes. | Create a separate client-facing notebook and add only material you intend to share. |
Microsoft’s sharing guidance explains that a link to a page doesn’t grant standalone access to that page. When you invite someone to a notebook, review the entire notebook for content they can access. For a one-off update, share a reviewed static copy, such as a PDF where your OneNote version supports it. Microsoft Support guide to sharing a OneNote notebook
Build a simple layout for each client project
Create a project overview page
Put the overview first in the project section. Name it Project Overview and use it to answer three questions: What are we delivering? Who needs to act next? When will we update the client?
Link to the signed scope, working files, and task board if you use one. Keep the current version of each deliverable in its designated location so the team knows where to work. A link in OneNote helps people find that file, and the file’s own sharing settings determine who can open it.
Keep meeting notes and decisions easy to find
Create a page for each substantial meeting. Use a consistent title such as 14 May — Homepage Review. Capture decisions and actions at the top, then add any useful detail below.
Keep one Decision Log page for approvals, scope changes, and revised dates. Record the date, who confirmed the decision, what they approved, and the source. If a call produced a proposal that still needs confirmation, label it pending. Link to the original approval email or signed change document once it’s available.
Give tasks an owner and a due date
For a small project, a short list in the overview may be enough. Write actions as verbs and include the owner and date. “Send the revised homepage layout — Alex — 20 May” gives the team something it can follow up on.
If you already assign and track tasks elsewhere, link to that tool and use the OneNote page for context, decisions, and meeting records. That gives the team a single place to update task status.
Copy this OneNote client project template
Paste this block into a new OneNote page. Replace the brackets and keep each line short enough to scan during a call.
PROJECT OVERVIEW — [Client / Project]

Status: [On track / Waiting / At risk / Complete]
Project owner: [Name]
Client contact: [Name or role]
Target delivery: [Date]
Last updated: [Date]

OUTCOME AND SCOPE
Goal: [What the client wants to achieve]
Included: [Key deliverables]
Out of scope: [Items that would need separate approval]

NEXT ACTIONS
[Action] — [Owner] — [Due date] — [Status]

DECISIONS AND APPROVALS
[Date] — [Decision or approval needed] — [Approver] — [Source link]

OPEN QUESTIONS OR BLOCKERS
[Question or issue] — [Who can resolve it] — [Follow-up date]

PROJECT LINKS
Signed scope: [Link]
Current deliverables: [Link]
Meeting notes / decision log: [Link]
Task board, if used: [Link]

NEXT CLIENT UPDATE
[Date] — [What we’ll send or confirm]
Reuse the template on the next project
Keep a blank master page in an internal Templates section. For each project, create a new page and paste the blank layout. This method works even if your version lacks a built-in template command. On Mac, Microsoft also documents a way to copy an existing page from its tab menu. Microsoft Support guide to copying notes in OneNote for Mac
If you use a supported Windows desktop edition, you can save a custom layout using View → Paper Size → Save current page as a template. To use it later, open Insert → Page Templates and select it under My Templates on a new blank page. Microsoft notes that built-in templates apply to pages that don’t already contain notes. Create or customize OneNote page templates · Apply a OneNote template
Completed example for a website refresh
A fictional design team is updating a bakery’s website. Its overview page might read like this.
| Field | Completed example |
|---|---|
| Project and status | Meadow Street Bakery website refresh · Waiting for client content · Updated 14 May |
| Owner and target | Alex, project lead · Delivery target 30 May |
| Outcome and scope | Make catering inquiries easier. Update the homepage, catering page, and contact form. Online ordering is out of scope. |
| Next action | Send current catering prices and serving sizes · Bakery manager · 17 May · Waiting |
| Next team action | Send the revised homepage layout · Alex · 20 May · In progress |
| Decision | 14 May · Client approved the homepage layout direction by email · Link to approval in Decision Log |
| Open question | Can the bakery use the supplied catering photos on the site? · Alex to confirm by 17 May |
| Project links | Signed scope, shared design folder, and 14 May meeting notes |
| Next client update | 20 May · Send revised layout and confirm whether the content is ready for the catering page. |
After the review, Alex updates the overview and adds the approval to the decision log. If the team shares live notes with the client, Alex adds a short client-facing update in the shared notebook. Internal estimates and staffing notes stay in the team’s workspace.
Review access when the project changes or closes
If the client needs live access, share with named recipients where your organization’s settings allow it, and give edit access only to people who need it. Review both people and shared links in Manage access. If the notebook is in a shared team location, check any access granted through that location too. Microsoft Support guide to managing notebook access
At handover, add the final deliverable link, record acceptance, and update the status. Review which client and contractor permissions still make sense, and keep records according to your organization’s retention process.
Frequently asked questions
1. Should I use one notebook per client or per project?
Use the access needs to decide. One internal notebook can hold several small projects if the same team works on all of them. Separate notebooks are useful when access differs or a client needs a live workspace.
2. Can I share a single OneNote page with a client?
For a live workspace, review Microsoft’s notebook-sharing behavior before sending a link. If you only want to provide the content of one page, send a reviewed static copy, such as a PDF where supported. Microsoft Support guide to notebook sharing
3. Do I need the Windows app to use this template?
No. You can paste the template into a new page. The built-in Page Templates workflow is available on supported Windows desktop editions. The blank master page is an option when the command is unavailable.
4. Can OneNote replace my project management tool?
It may be enough for a small project with a short task list. If you rely on task assignments, reminders, or dependencies, keep that work in a dedicated tool and use OneNote for meeting notes, context, and decisions.
5. How often should I update the project overview?
Update it after a decision that changes scope or dates, and before the next client update. If a project is waiting on someone, keep the next action, owner, and follow-up date visible.
Conclusion
Start with one active project. Create the overview, add the next action and its owner, and link to the latest approval or scope. After the next client call, update the overview and record any decision while it’s fresh. Once the layout works for your team, use the blank master for the next project.