
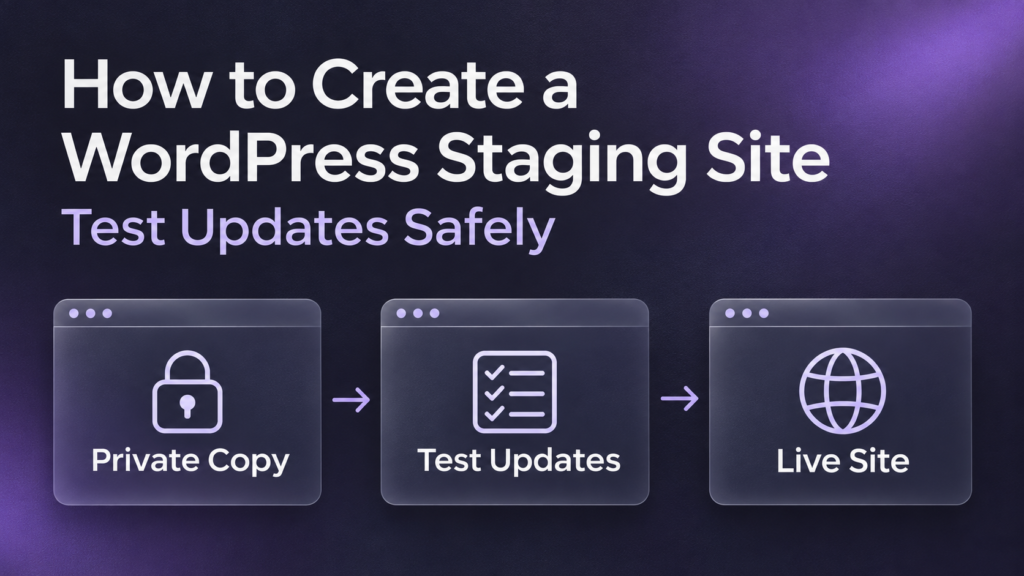

If you’re learning how to create a WordPress staging site to test updates safely, start with a current backup and a private copy of your site. An update can install successfully and still break a form, mobile menu, or checkout. A staging site gives you a place to test those workflows before customers encounter the change.
If you only need to update WordPress, a plugin, or a theme, the simplest release is often to test the updates on staging and then install the same versions on live. This avoids replacing the live database, which may contain orders or other changes made since you created the copy. WordPress update guidance · WordPress.com guidance on staging and production sync
Choose where to create your staging site
| Option | When it fits | What to check before starting |
|---|---|---|
| Your host’s staging tool | You want a copy that closely matches your live hosting setup. | Check whether your plan includes staging, how the copy is protected, and what the push-to-live tool replaces. |
| A staging or migration plugin | Your host has no staging feature, or you need a copy on separate test hosting. | Check whether the plugin can copy the whole site, whether the test copy has separate files and a database, and how you can restrict access. |
| A local site on your computer | You want a private copy for testing by yourself. | Match the live PHP version and other dependencies as closely as you can. Performance, email, caching, and external services may behave differently. |
Hosts use different menus and offer different sync controls. WordPress.com documents its own staging workflow. Local documents how to import a WordPress archive for testing on your computer. WordPress.com staging setup · Local’s import guide
How to create a WordPress staging site in six steps
1. Back up the live site and record its versions
Create a backup that includes your site files and database. Confirm that the backup finished and that you know how to restore it. Record the live versions of WordPress, PHP, and the plugins or theme you plan to update. A version list helps when you need to reproduce a problem or apply the exact combination you tested. WordPress update and backup guidance
2. Create a copy and confirm you are working on staging
In your host dashboard, select the live site and look for a Staging, Environments, or Clone option. Choose the option that copies the live site to staging. If you use a plugin or a local tool, follow its import workflow and ensure the copy uses its own files and database. On eligible WordPress.com plans, open the Hosting Dashboard, select your site, then choose Production → Add staging site.
Open the staging URL in a separate browser window and check that the home page, a recent post, and the WordPress dashboard load. Confirm the staging address before every change. Add an obvious STAGING label to the test site if your host doesn’t already label it. For a new round of testing, refresh an old staging copy from live after saving any staging changes you want to keep. WordPress.com staging setup · WordPress.com sync guidance
3. Restrict access and isolate live services
Use your host’s staging password protection or another access restriction. If the site contains customer data, choose a setup that can keep the copy private from the moment it is created. Open the staging URL in a private browser window to confirm that it requires authentication. WordPress’s Discourage search engines from indexing this site setting can supplement access protection. It does not prevent someone with the URL from visiting. During your live checks, make sure that setting has not carried over to production. WordPress Reading settings
A copy may include customer data, live service credentials, and scheduled tasks. Limit who can access it and use sample data where practical. Before running tests, disable outbound customer emails and production automations, or route them to test destinations. Put payment gateways in sandbox or test mode. If you test subscriptions, check the extension’s staging and renewal behavior first. WooPayments test mode · WooCommerce subscription renewal testing
4. Run a baseline check, then apply the updates
Test the main workflows once before updating. If a copied form already fails because staging uses a different mail configuration, record that finding so you can distinguish it from an update problem. Then install the updates on staging. For unrelated changes, apply one at a time or in small groups. For plugins that depend on each other, follow the vendor’s compatibility guidance and test the versions together.
Clear staging caches after the update if they could hide a change. Repeat the baseline checks on a phone and in a private browser window. If something breaks, note which version changed and how to reproduce the problem. Fix it on staging and rerun the affected checks before moving to live.
5. Test the actions real visitors need to complete.
Choose checks based on what people use your site to do. Use test accounts, sample orders, and a test inbox.
| Workflow | What to verify |
|---|---|
| Browse the site | Open the home page and important landing pages. Check menus, images, and layout on desktop and mobile. |
| Submit a form | Confirm that validation works, the submission is recorded where expected, and the notification reaches the test inbox if email is part of the workflow. |
| Sign in or manage content | Sign in with the relevant role and check the dashboard or customer area. Open and save a test post if publishing is part of the site’s workflow. |
| Buy a product | Test the cart, checkout, payment in sandbox mode, and order confirmation. Include coupons, shipping, or subscriptions if your store uses them. |
| Use an integration | Confirm that the event reaches its test destination, such as a sandbox CRM. |
For a publishing site, a practical test after a theme update is to open a category page on mobile, follow a post link, and submit the newsletter form to a test list. Passing all three checks is more informative than viewing the homepage alone.
6. Apply the tested changes to live and recheck
Take a fresh live backup. Pick a time when you can monitor the site, then apply the updates you tested. For a routine update, that usually means installing those versions directly on live. If you need to deploy theme files or other changes from staging, check what the host’s push tool copies. Even a file-only deployment can need a database migration or leave out settings saved in the database. WordPress.com sync and overwrite guidance · Kinsta selective push documentation
Repeat the most important live checks immediately afterward. If a critical workflow fails, use the rollback or restore method you planned. A database restore can discard changes made after the backup, so check for intervening orders or submissions and coordinate with your host when restoring a transactional site. WordPress update and restore guidance
Why pushing the staging database can erase live changes
Suppose a shop creates a staging copy on Monday. By Thursday, the live store has received eight new orders. If the owner replaces the live database with Monday’s staging database, those newer order records can be lost from the site. The same issue can affect new posts, users, or form entries stored in the database. WordPress.com sync behavior
For routine updates, install the tested versions on live. For changes that exist only in the staging database, such as some page builder settings, use a targeted export if the tool supports it or recreate the changes on live. Check which data your method copies before deploying.
Frequently asked questions
1. Can I create a staging site without paying for a separate hosting plan?
Your current plan may already include staging. If it doesn’t, a local copy is an option for testing on your own computer. Check your host’s plan details and choose based on whether other people need access to the test site. WordPress.com staging setup · Local import guide
2. Can a staging site affect my live website?
A staging copy can affect live operations if it shares production credentials, payment modes, or automation destinations. It can also overwrite live data if you push the wrong environment or choose a full database sync. Verify access, test integrations, and the direction of the sync before using those features. WooPayments testing guidance · WordPress.com sync guidance
3. Is a staging site the same as a backup?
A staging site is a working copy you can modify for testing. A backup preserves files and database contents from a point in time so you can restore them. Keep a restorable backup before changing production, even when an update passes on staging. WordPress backup guidance
4. How often should I refresh staging from live?
Refresh it before a major testing round or when the live site has changed enough that your old copy no longer reflects the workflows you need to test. Save staging-only work first. After refreshing, recheck privacy, payment test mode, and integration settings.
5. Should I push staging to live after every successful test?
For ordinary software updates, install the tested versions on live and verify the main workflows again. Use push-to-live when you need to transfer a change built on staging and understand which files or data the feature will replace. WordPress.com staging sync guidance
Conclusion
Set up a private test copy, run the actions your visitors rely on, and record which versions pass. When you update production, choose a release method that preserves new orders, submissions, and content. Keep a fresh backup available and check the live site immediately after the update.